Routing is the process of directing an HTTP request to a controller and the functionality of this processing is implemented in System.Web.Routing. This assembly is not part of ASP.NET MVC. It is actually part of the ASP.NET runtime, and it was officially released with the ASP.NET as a .NET 3.5 SP1.
System.Web.Routing is used by the MVC framework, but it's also used by ASP.NET Dynamic Data. The MVC framework leverages routing to direct a request to a controller. The Global.asax file is that part of your application, where you will define the route for your application.
This is the code from the application start event in Global.asax from the MVC App which we created in the previous chapter.
using System;
using System.Collections.Generic;
using System.Linq;

using System.Web;
using System.Web.Mvc;
using System.Web.Routing;

namespace MVCFirstApp {
   public class MvcApplication : System.Web.HttpApplication {
      protected void Application_Start(){
         AreaRegistration.RegisterAllAreas();
         RouteConfig.RegisterRoutes(RouteTable.Routes);
      }
   }
}
Following is the implementation of RouteConfig class, which contains one method RegisterRoutes.
using System;
using System.Collections.Generic;
using System.Linq;

using System.Web;
using System.Web.Mvc;
using System.Web.Routing;

namespace MVCFirstApp {
   public class RouteConfig {
      public static void RegisterRoutes(RouteCollection routes){
         routes.IgnoreRoute("{resource}.axd/{*pathInfo}");
         routes.MapRoute(
            name: "Default",
            url: "{controller}/{action}/{id}",
            defaults: new{ controller = "Home", action = "Index", id = UrlParameter.Optional});
      }
   }
}
You will define the routes and those routes will map URLs to a specific controller action. An action is just a method on the controller. It can also pick parameters out of that URL and pass them as parameters into the method.
So this route that is defined in the application is the default route. As seen in the above code, when you see a URL arrive in the form of (something)/(something)/(something), then the first piece is the controller name, second piece is the action name, and the third piece is an ID parameter.
Understanding Routes
MVC applications use the ASP.NET routing system, which decides how URLs map to controllers and actions.
When Visual Studio creates the MVC project, it adds some default routes to get us started. When you run your application, you will see that Visual Studio has directed the browser to port 63664. You will almost certainly see a different port number in the URL that your browser requests because Visual Studio allocates a random port when the project is created.
In the last example, we have added a HomeController, so you can also request any of the following URLs, and they will be directed to the Index action on the HomeController.
http://localhost:63664/Home/
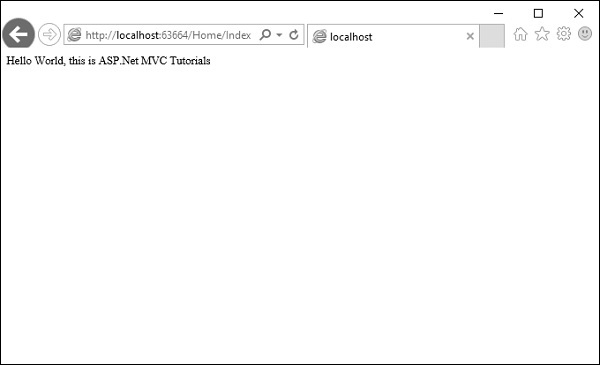
http://localhost:63664/Home/Index
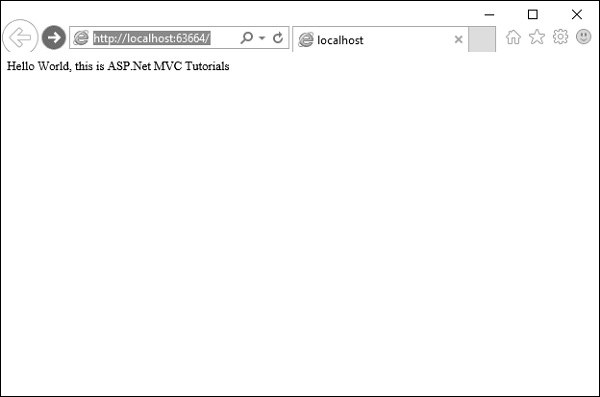
When a browser requests http://mysite/ or http://mysite/Home, it gets back the output from HomeController’s Index method.
You can try this as well by changing the URL in the browser. In this example, it is http://localhost:63664/, except that the port might be different.
If you append /Home or /Home/Index to the URL and press ‘Enter’ button, you will see the same result from the MVC application.
As you can see in this case, the convention is that we have a controller called HomeController and this HomeController will be the starting point for our MVC application.
The default routes that Visual Studio creates for a new project assumes that you will follow this convention. But if you want to follow your own convention then you would need to modify the routes.
Custom Convention
You can certainly add your own routes. If you don't like these action names, if you have different ID parameters or if you just in general have a different URL structure for your site, then you can add your own route entries.
Let’s take a look at a simple example. Consider we have a page that contains the list of processes. Following is the code, which will route to the process page.
routes.MapRoute(
   "Process",
   "Process/{action}/{id}",
   defaults: new{
      controller = "Process", action = "List ", id = UrlParameter.Optional}
);
When someone comes in and looks for a URL with Process/Action/Id, they will go to the Process Controller. We can make the action a little bit different, the default action, we can make that a List instead of Index.
Now a request that arrives looks like localhosts/process. The routing engine will use this routing configuration to pass that along, so it's going to use a default action of List.
Following is the complete class implementation.
using System;
using System.Collections.Generic;
using System.Linq;

using System.Web;
using System.Web.Mvc;
using System.Web.Routing;

namespace MVCFirstApp{
   public class RouteConfig{
      public static void RegisterRoutes(RouteCollection routes){
         routes.IgnoreRoute("{resource}.axd/{*pathInfo}");

         routes.MapRoute(
            "Process", "Process/{action}/{id}",
            defaults: new{
               controller = " Process", action = "List ", id =
               UrlParameter.Optional});

         routes.MapRoute(
            name: "Default", url: "{controller}/{action}/{id}",
            defaults: new{
               controller = "Home", action = "Index", id =
               UrlParameter.Optional});
      }
   }
}
Step 1 − Run this and request for a process page with the following URL http://localhost:63664/Process

You will see an HTTP 404, because the routing engine is looking for ProcessController, which is not available.
Step 2 − Create ProcessController by right-clicking on Controllers folder in the solution explorer and select Add → Controller.
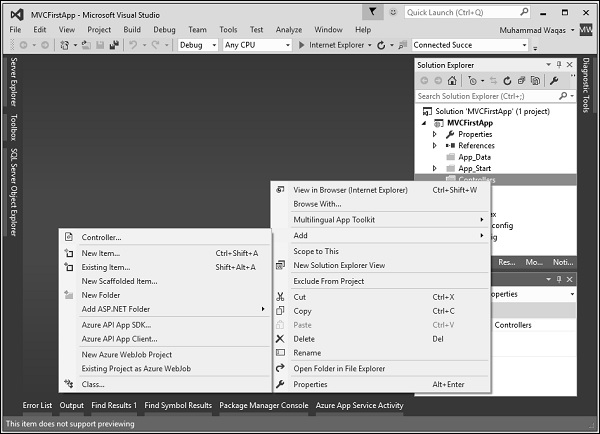
It will display the Add Scaffold dialog.
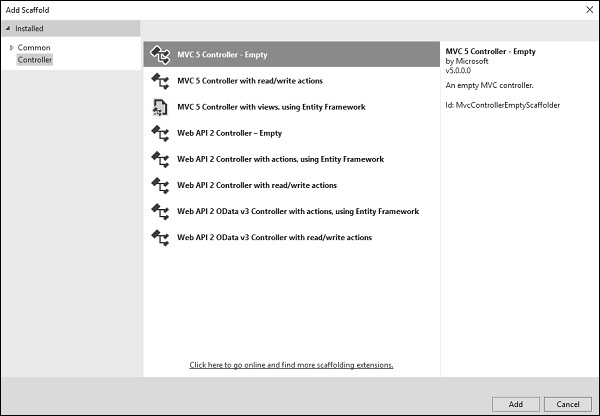
Step 3 − Select the MVC 5 Controller – Empty option and click ‘Add’ button.
The Add Controller dialog will appear.
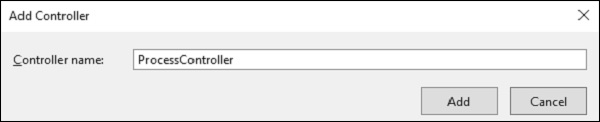
Step 4 − Set the name to ProcessController and click ‘Add’ button.
Now you will see a new C# file ProcessController.cs in the Controllers folder, which is open for editing in Visual Studio as well.
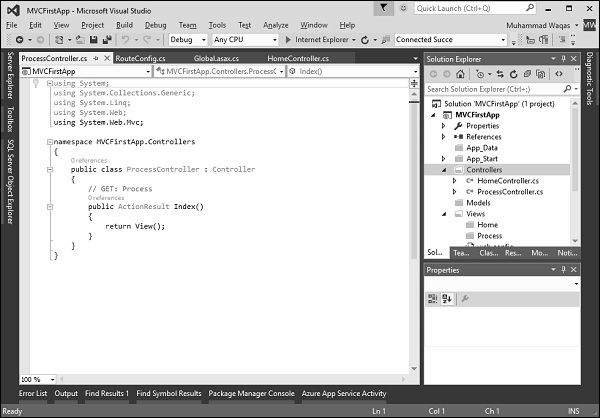 Now our default action is going to be List, so we want to have a List action here instead of Index.
Step 5 − Change the return type from ActionResult to string and also return some string from this action method using the following code.
using System;
using System.Collections.Generic;
using System.Linq;
using System.Web;
using System.Web.Mvc;
namespace MVCFirstApp.Controllers{
public class ProcessController : Controller{
// GET: Process
public string List(){
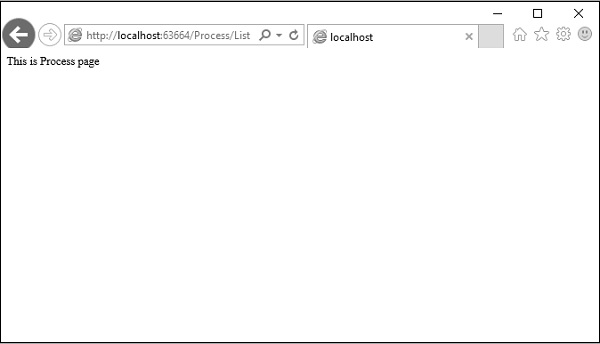
return "This is Process page";
}
}
}Step 6 − When you run this application, again you will see the result from the default route. When you specify the following URL, http://localhost:63664/Process/List, then you will see the result from the ProcessController.